
 Nederlands
 Deutsch
 Español
 Magyar
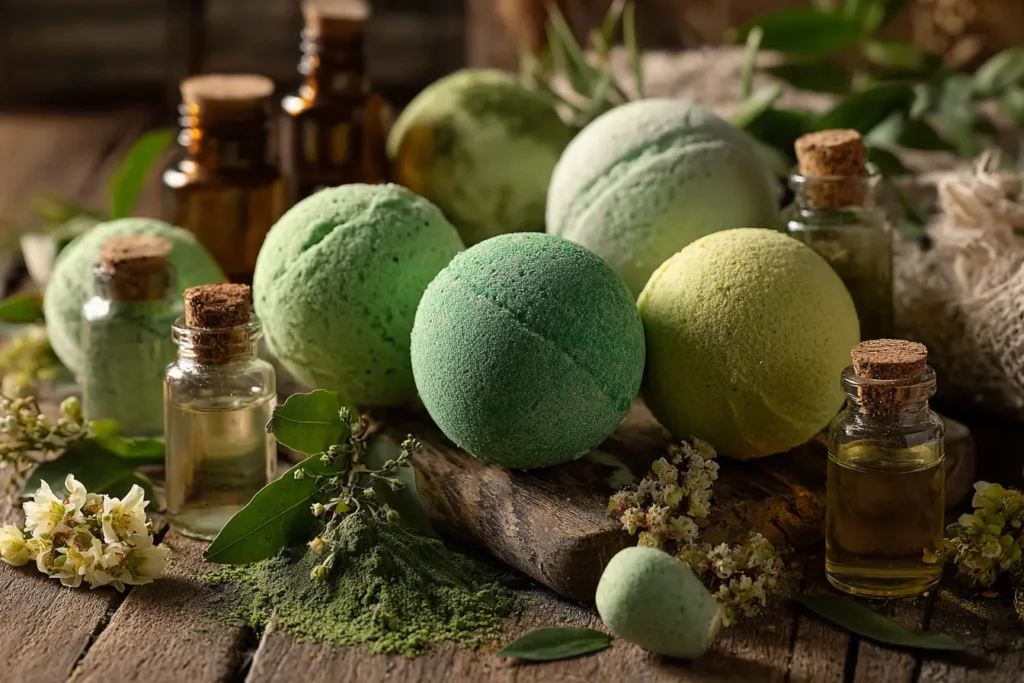
Making your own bath bombs at home is a fun, relaxing DIY project that lets you customize scents, colors, and ingredients just the way you like. Whether you’re making them for yourself, as a gift, or just for a little self-care luxury, this recipe will guide you through the process step by step. You don’t need any fancy equipment — just a few simple ingredients and a little creativity!
🛁 Basic Kratom Bath Bomb Recipe (makes about 4–6, depending on size)
Ingredients:
-
1/2 cup citric acid
-
1 cup baking soda
-
1/2 cup cornstarch (or potato starch)
-
1/4 cup Epsom salt (optional – softens the skin)
-
1–2 tsp water (use sparingly!)
-
1–2 tsp carrier oil (e.g. coconut oil, almond oil, or olive oil)
-
10–20 drops essential oil (e.g. lavender, lemon, eucalyptus)
-
1–2 tsp Optional color (e.g. Kratom, Sakea naa, Javanica)
-
Bath bomb molds or silicone molds (you can use plastic Christmas ornaments or muffin tins)
🛠️ Instructions:
-
Mix dry ingredients:
-
In a large bowl, mix the baking soda, citric acid, cornstarch, kratom, and Epsom salt.
-
-
Mix wet ingredients in a separate bowl:
-
Combine the oil, essential oil, color, and water.
-
Stir gently — too much liquid or adding it too quickly may cause the mixture to fizz prematurely.
-
-
Slowly combine wet and dry ingredients:
-
Add the liquid mixture slowly to the dry ingredients, stirring constantly to avoid fizzing.
-
The final texture should feel like damp sand — it should hold its shape when pressed together.
-
-
Mold your bath bombs:
-
Firmly press the mixture into your molds. If using two halves (for a round bomb), press them together tightly.
-
-
Let them dry:
-
Leave the bath bombs in the mold to dry for at least 24 hours. Once hardened, remove and store in an airtight container or wrap in cellophane bags.
-
💡 Tips:
-
Use gloves if you have sensitive skin (citric acid can be irritating).
-
Don’t let children handle citric acid unsupervised.
-
Want to add glitter or dried flowers? Place them at the bottom of the mold before packing in the mixture!